
Position and authority
Each department will have one or more positions. Each position will have different permissions. Therefore, the Nobi Pro system integrates the role-based permission feature, allowing users with certain positions to perform corresponding functions.
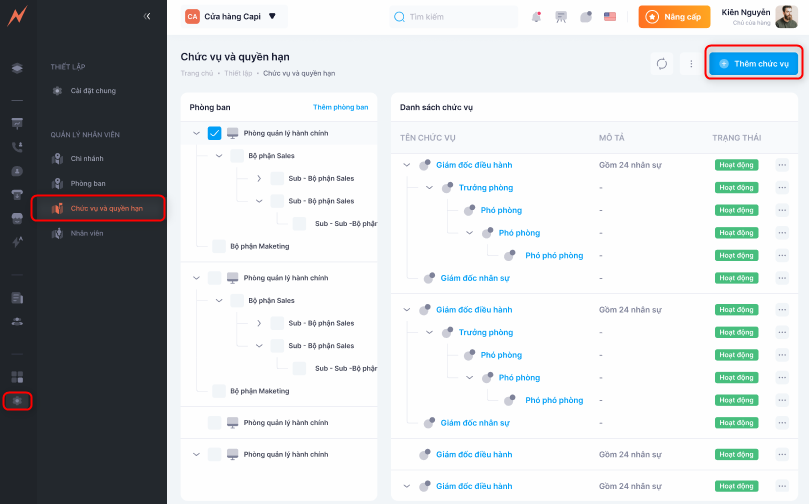
1. Add position
To add a role to a user in a department, please follow these steps in the department list:
Step 1: Click on the department where you want to add a position -> The department details are displayed
Step 2: Click "Add Position" -> The form to add a position is displayed
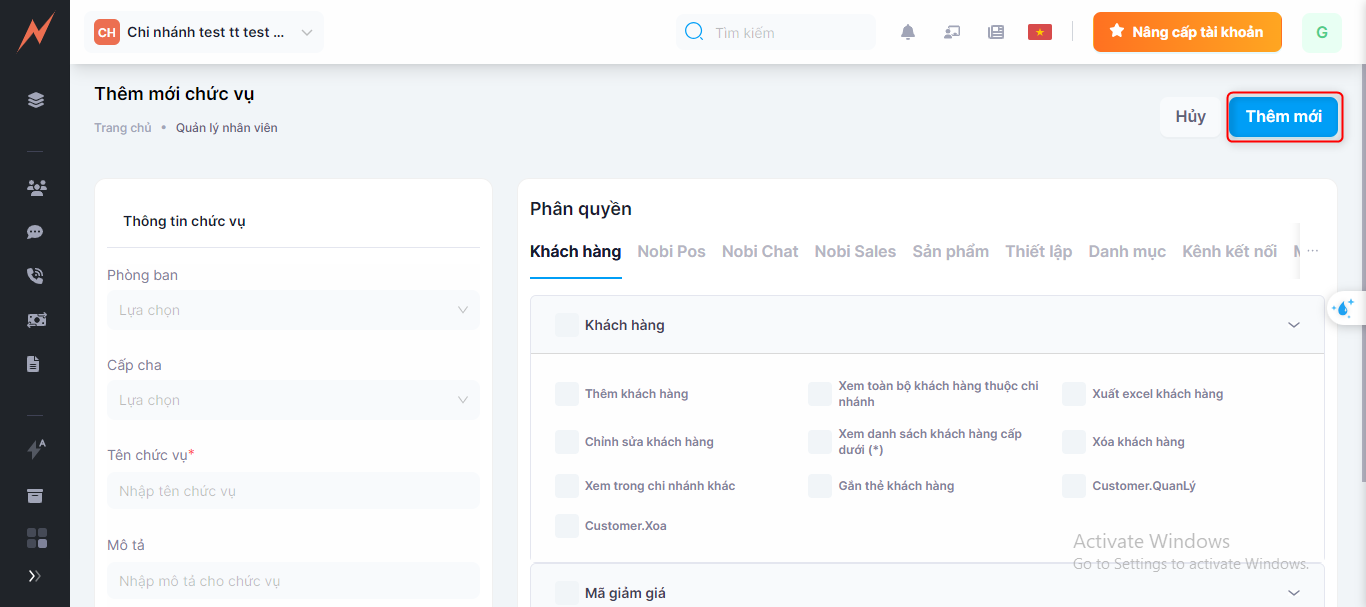
Step 3: Enter the position information into the form
Step 4: Click "Add"
2. Role assignment
Permissions in Nobi Pro are divided into general administrative roles and branch-specific roles. An employee account can be assigned roles across multiple different branches.
Right to General Management:
Administrators' Rights: These are system administration privileges, allowing the viewing and manipulation of all objects on Nobi. However, administrators cannot view leads or orders that others are responsible for. If you want to see more detailed information, you can add additional permissions in the general administration section or at the branch level.
The departmental position in general administration is the authority to view and operate in all branches of the system. If you assign all rights to this position, then you have all the rights in all branches across the system.
Branch Permissions: The system will be structured with a pyramid model, where one system includes various branches, each branch comprises different departments, and each department has its positions. Therefore, when assigning user permissions, they will be granted according to the specific position within a department, corresponding to the branch. If assigned to a particular branch, they will have the operational rights at that branch.
To assign user roles, please follow these steps at the department management interface:
Step 1: Select branch
Step 2: Click on the department -> Department details are displayed
Step 3: Click on the position you want to assign permissions to
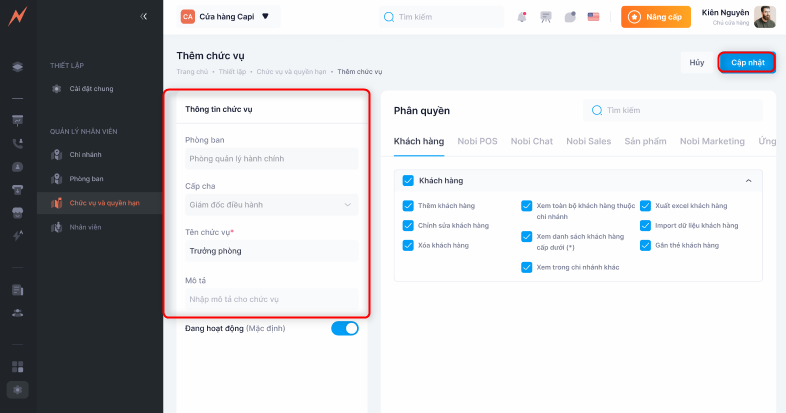
Step 4: Select the permissions you want to assign to the role by checking the checkboxes (In all tabs)
Step 5: Click "Update"
3. Update position
To update the position, in the department list interface, please follow these steps:
Step 1: Select a branch
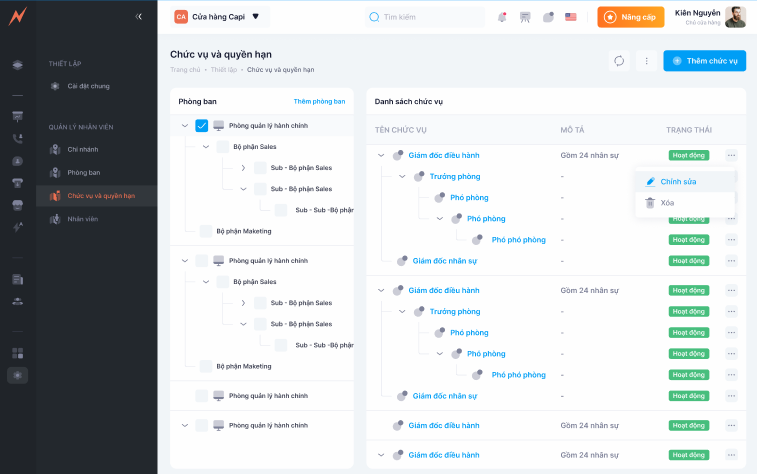
Step 2: Click on the department -> Display the list of positions within the department
Step 3: Click the three dots on the right side of the position
Step 4: Click "Edit" -> Update form appears
Step 5: Enter the information to be updated
Step 6: Click "Update"
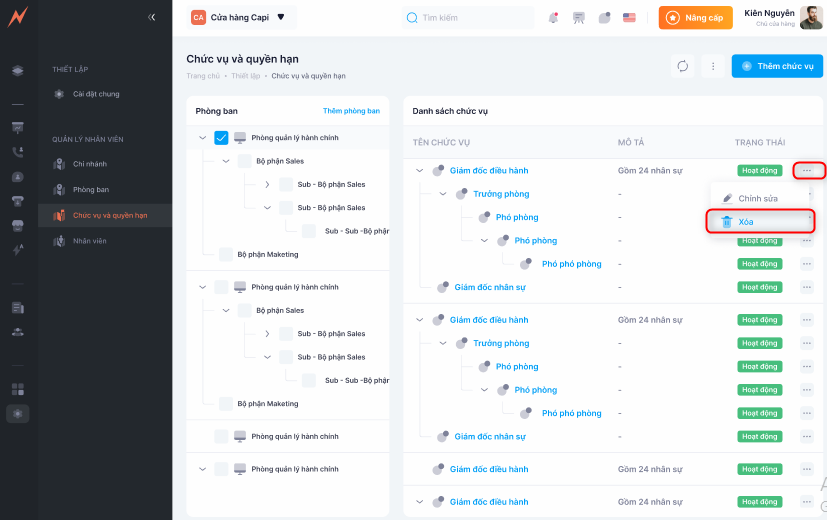
4. Delete position
To remove a position, please follow these steps at the department list interface:
Step 1: Select a branch
Step 2: Click on the department -> Display the list of positions within the department
Step 3: Click the three dots on the right side of the position
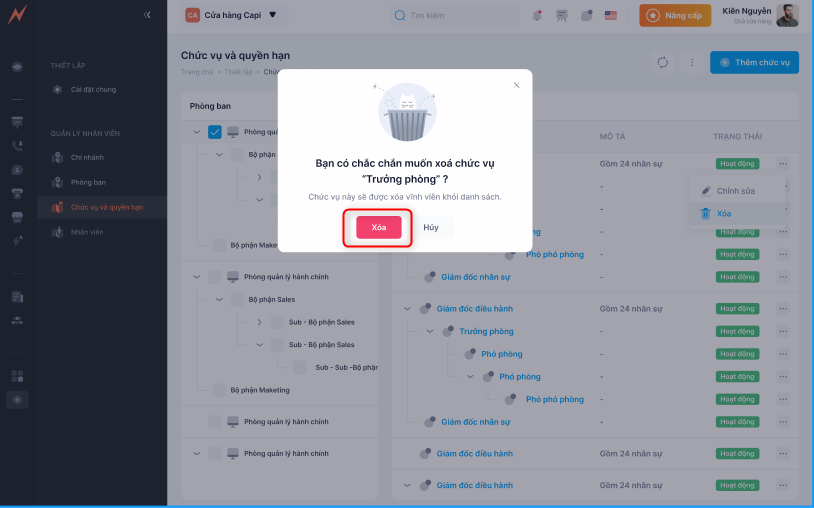
Step 4: Click "Delete"
Step 5: Click "Yes"
Last updated