# Inventory checking sheet
Inventory checking is an activity that store owners regularly perform to count the quantity, grasp the actual situation of goods in the warehouse, and the difference compared to reality..
Understand the needs and desires of shop owners, Nobi Pro integrates inventory checking feature into the system. The workflow of the inventory checking form is as follows:
1. Management/shop owner lists the products that need to be checked -> Create a form and assign employees to inspect -> Currently inspecting goods.
2. Employees assigned to inventory checking will verify the quantity, report the actual quantity in stock to the manager/shop owner (the person who created the voucher), or update the actual quantity in the inventory checking voucher themselves => Inventory checked.
3. The manager will confirm the quantity based on the actual quantity of goods and the quantity in stock, if there is a discrepancy, they will press complete to make the actual quantity equal to the stock quantity in the system => Balanced.
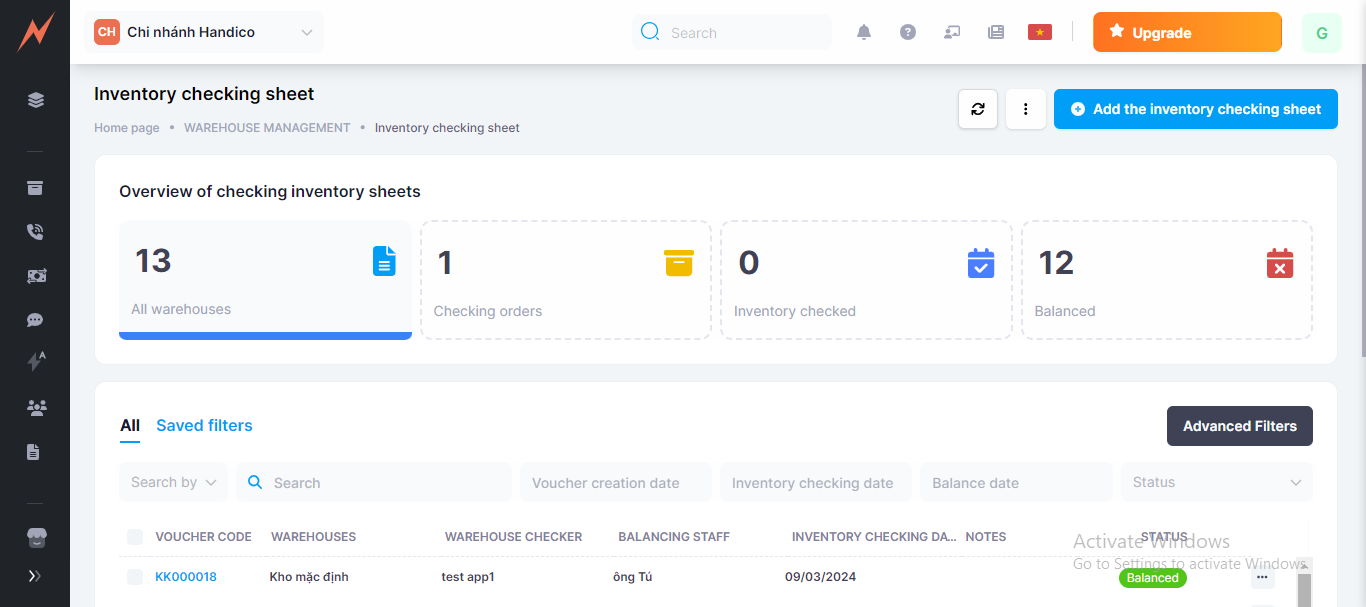
To manage inventory, at the Nobi Pro admin page, you go to the Products -> Inventory checking sheet. The interface will be displayed as shown below.
## **I. Create the inventory checking sheet**
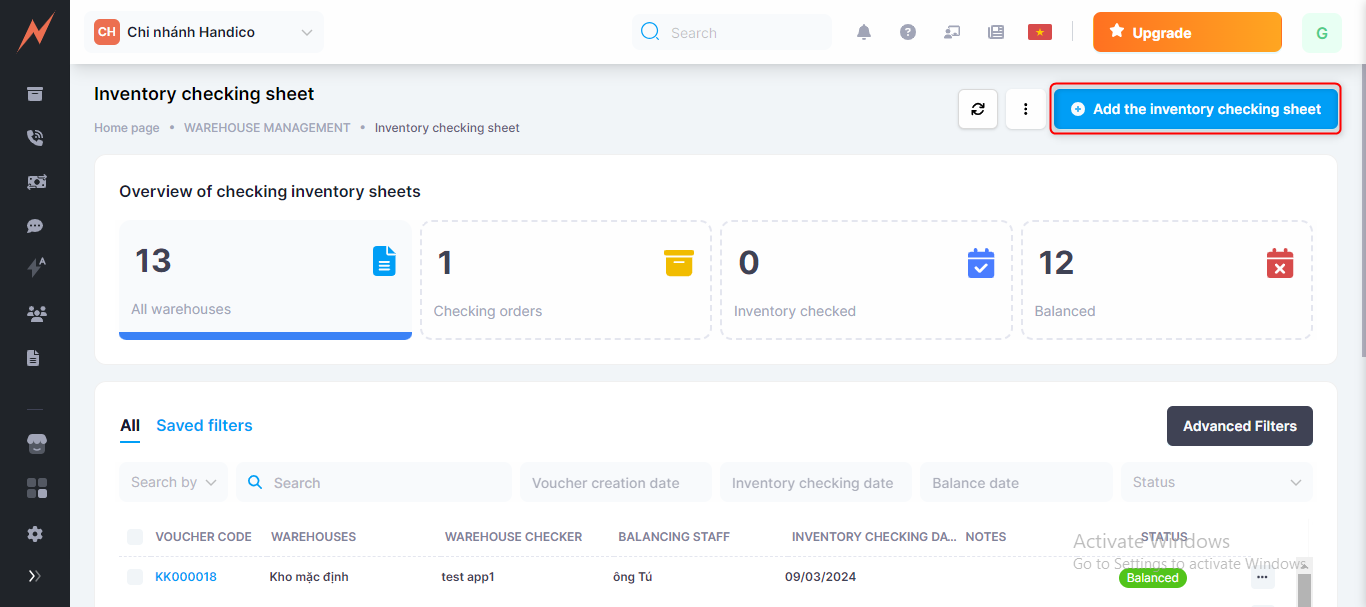
At the inventory checking interface, to add a new voucher, please follow these steps:
Step 1: Click button " Create the inventory checking sheet"
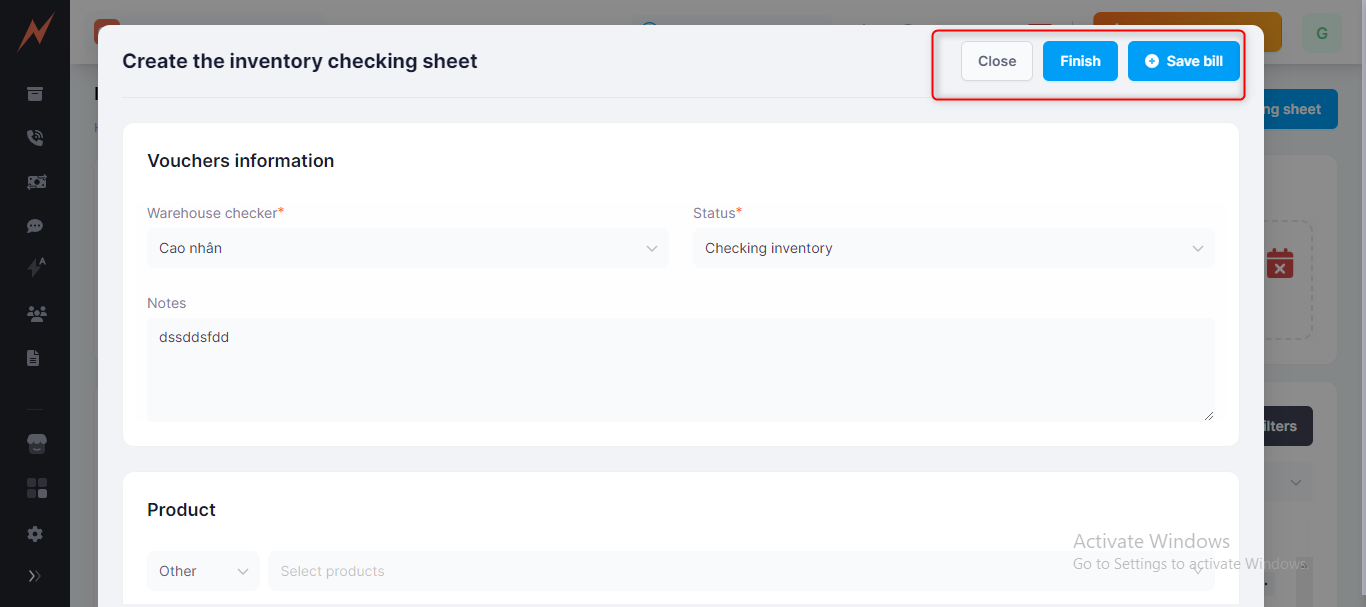
Step 2: In the view, fill in all the information.
Step 3: Click button "Save bill" hoặc "Finish"
If you press "Finish", the voucher will automatically be in the "Balanced" state and at the same time the inventory of the products in the voucher will be updated according to this voucher.
On the contrary, if "Save bill" then the ticket will be temporarily stored, and the inventory will not be updated.
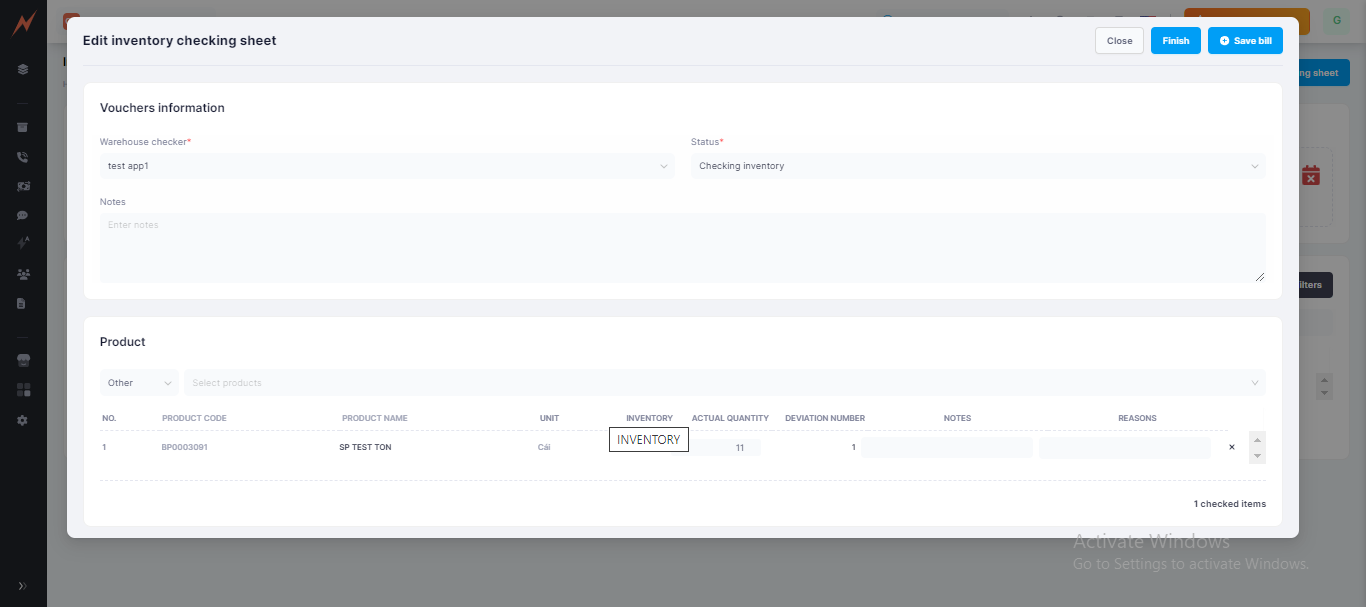
## **II. Edit Voucher**
For vouchers in the "Inventory checked" or "Checking order" status, users can edit all information. However, for vouchers in the "Balanced" status, users are not allowed to add/edit/delete products that are already in the voucher.
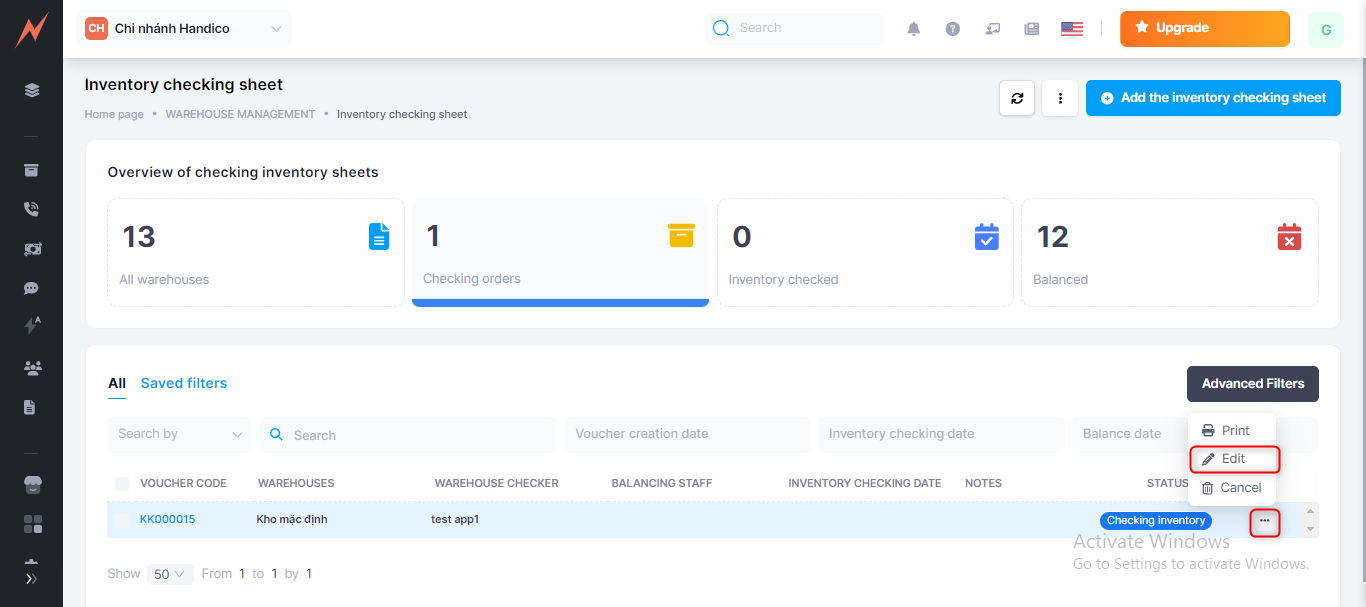
At the voucher management page, to edit a voucher, please follow these steps:
Step 1: Click on three dot to the right of voucher -> Click on "Edit voucher"
Step 2: Change information
Step 3: Click button "Finish" / "Save bill"
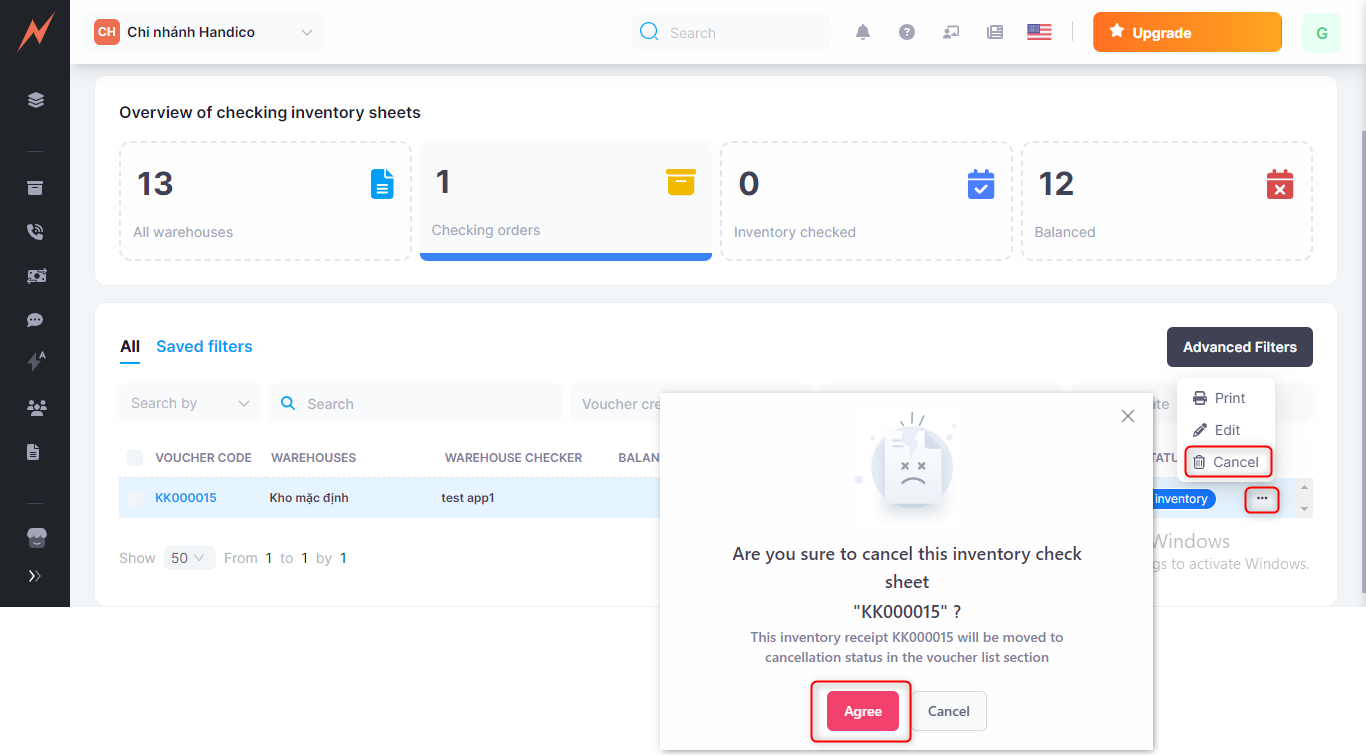
## **III. Cancle Voucher**
For tickets in the "Checking inventory" or "Inventory checked" status, you are allowed to cancel them as it does not affect the product inventory levels.
For tickets in the "Balanced" status, only the most recent ticket can be cancelled.
On the ticket management page, to edit a ticket, please follow these steps:
Step 1: Click three dot to the right of the voucher -> Click "Cancle Voucher "
Step 2: Click button "Agree"
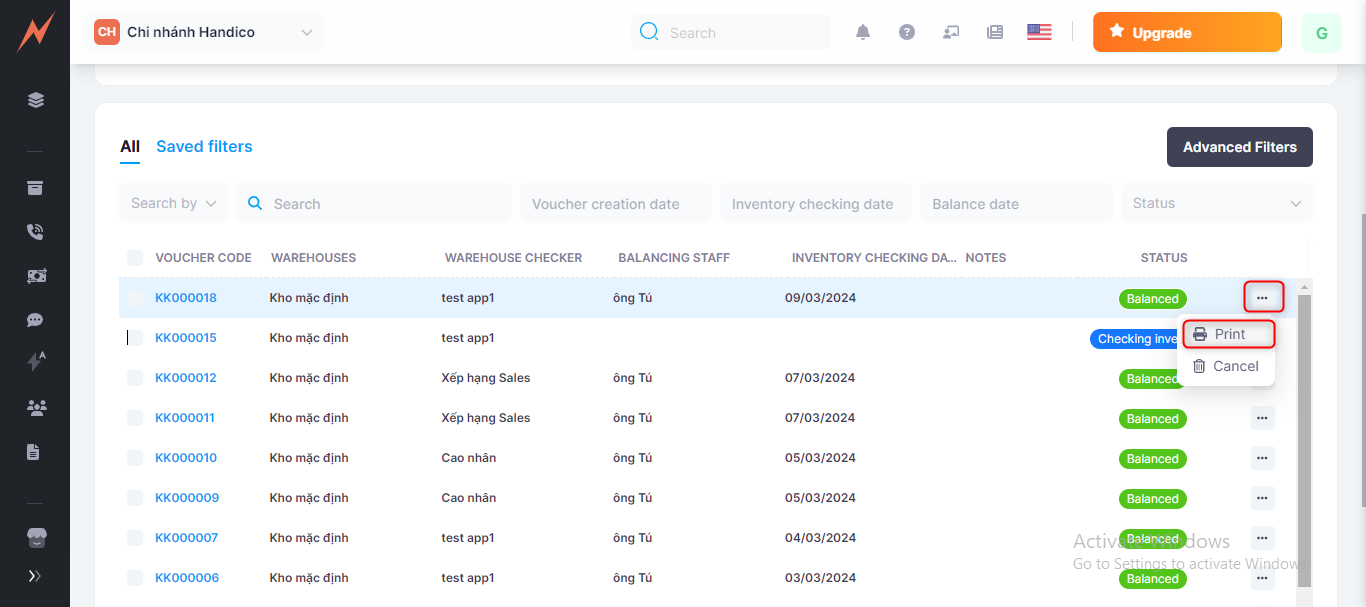
## **IV. Print Voucher**
On the invoice list management page, to print the invoice, you click on the three dots and select "Print".
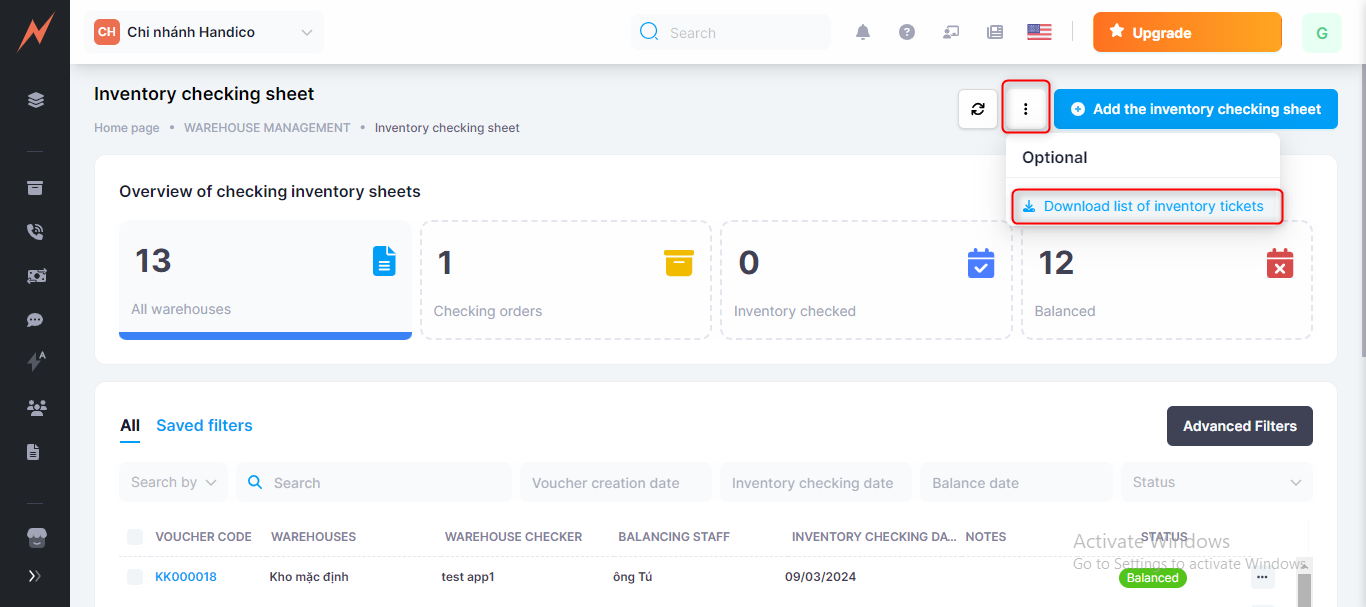
## **V. Export Excel File**
There are 2 ways to export an excel file.
Method 1: How to export an excel file according to the filter will be done as shown below:
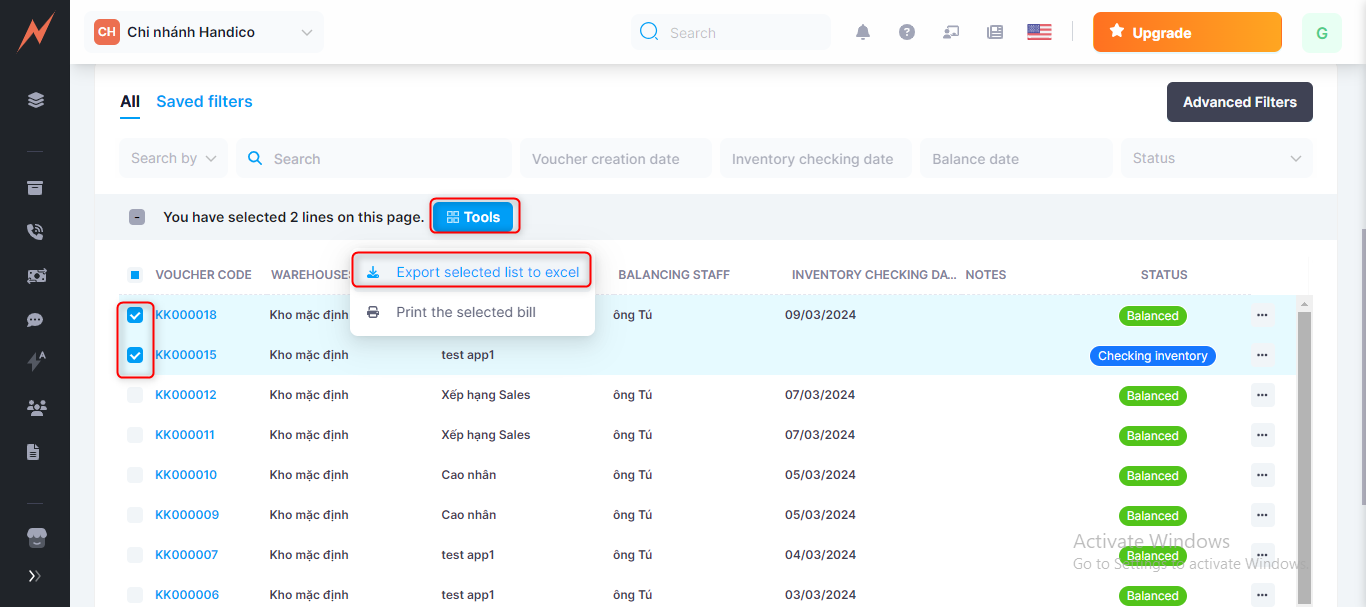
Method 2: Export excel according to the selected vouchers, will be done as shown below.