
Cash book type
A cash book helps you manage the entire cash flow of the store through Revenue and Expenditure transactions.
When carrying out a sales transaction, collecting debts from customers... the system will automatically create a receipt in the cash book to record this cash flow.
Similarly, for payment transactions when importing goods, paying debts to suppliers... the system will also automatically create a corresponding payment voucher to record this operation.
The cash fund operates on the principle: Receipts for money in, Payment vouchers for money out.
The cash book management feature, Nobi Pro will help you:
Add cashbook
Create receipt voucher
Create payment voucher
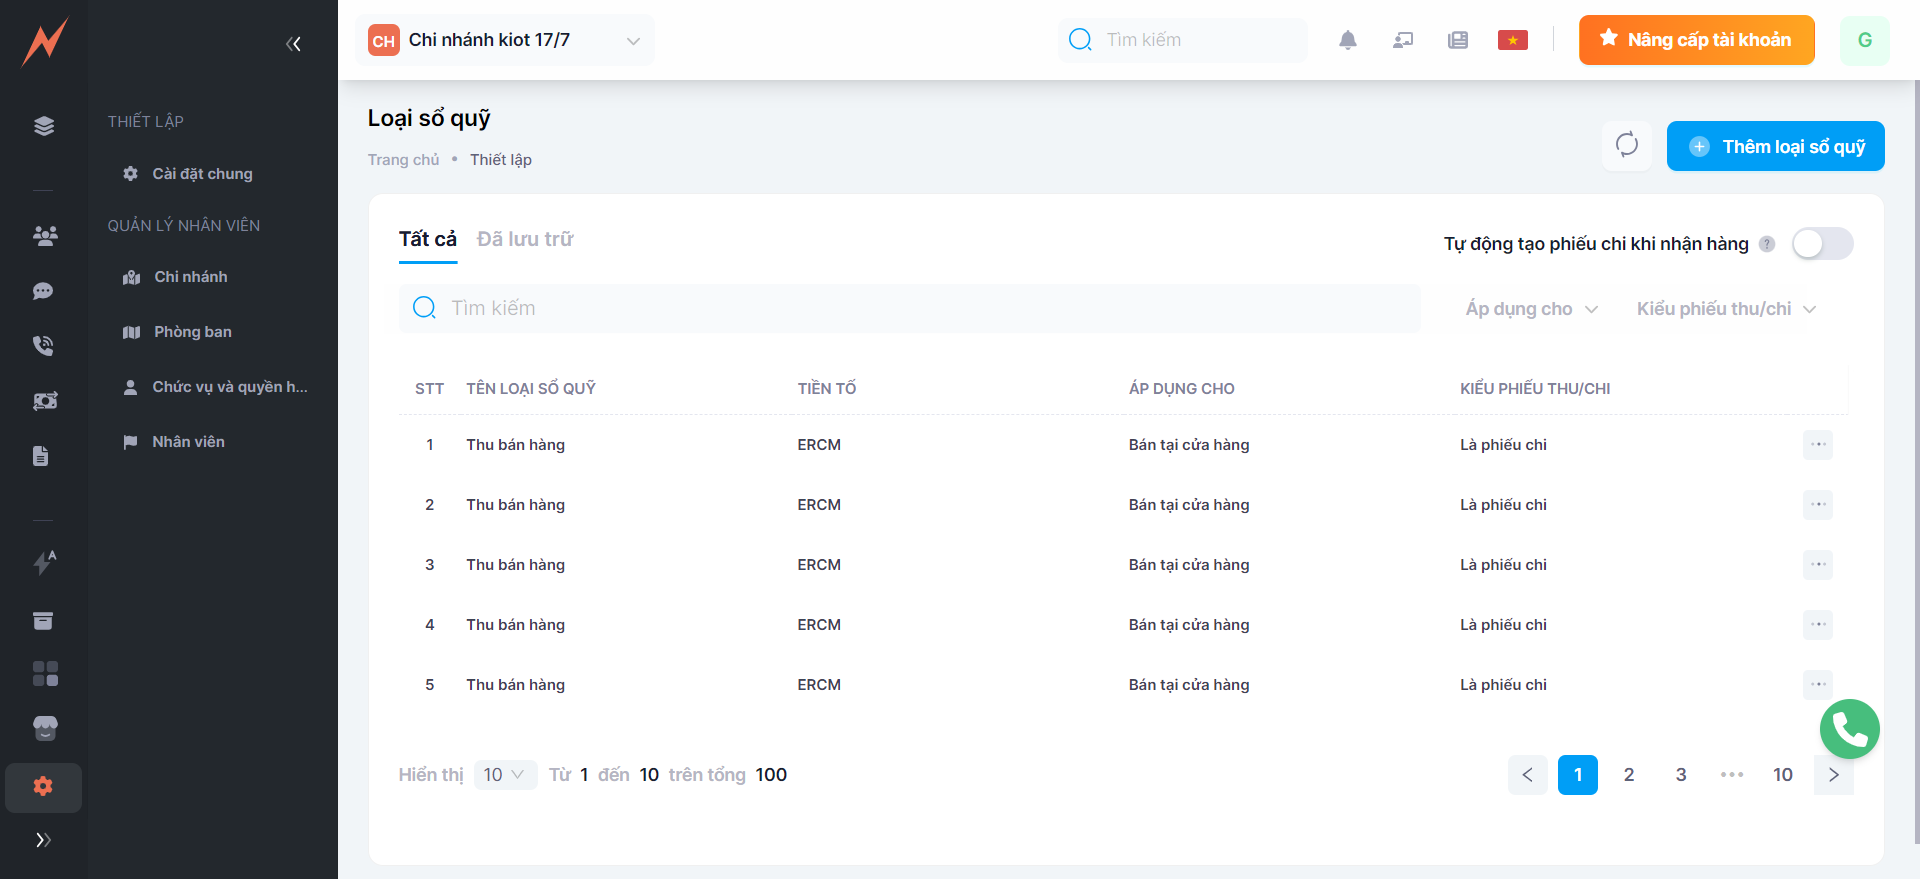
To use the cashbook management feature, go to the Nobi Pro admin page, navigate to Setup -> General Settings -> Type of Cashbook
1. Add cash book type
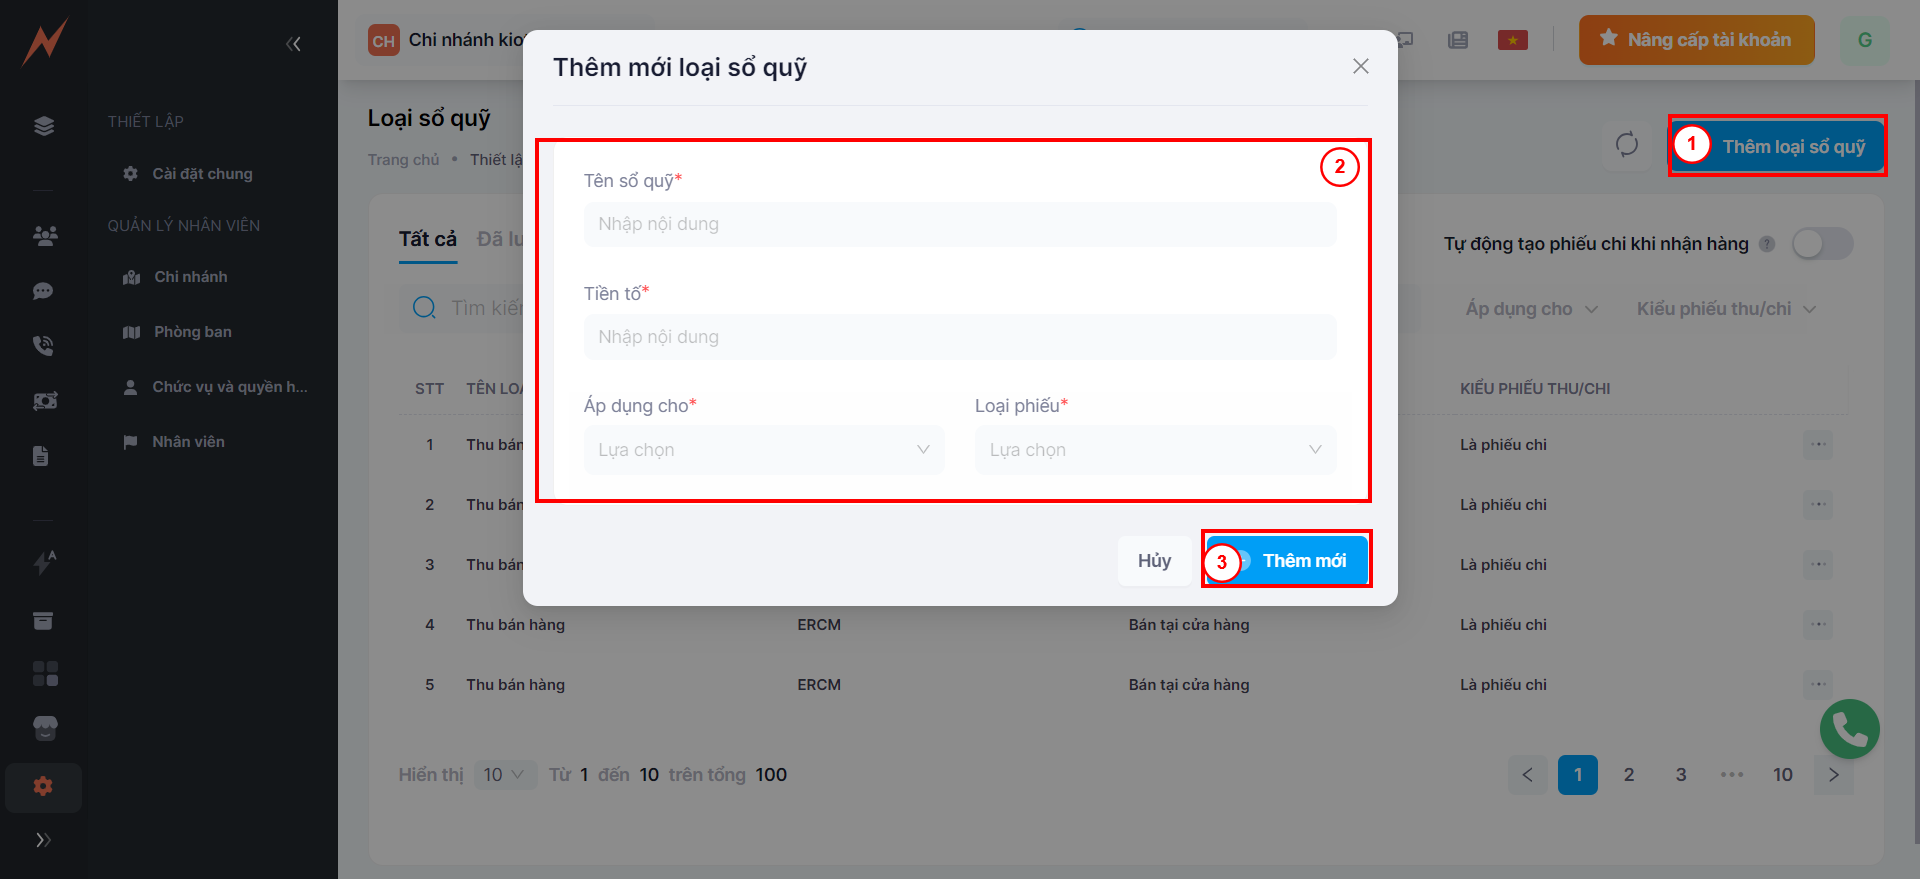
Step 1: At the cashbook management interface, click "Add cashbook type" -> The form to add a cashbook is displayed
Step 2: Enter cashbook information
Name of the cashbook type
Applicable in which cases
Turn ON if it is a receipt, OFF if it is a payment voucher.
Step 3: Click "Add"
*** Note: Each type of cash book can only be added once. For example, if a cash receipt for the Retail Store type has already been added, a second receipt cannot be created. If you try to add it again, the system will display an error message stating "This type of voucher already exists".
2. Update cash book type
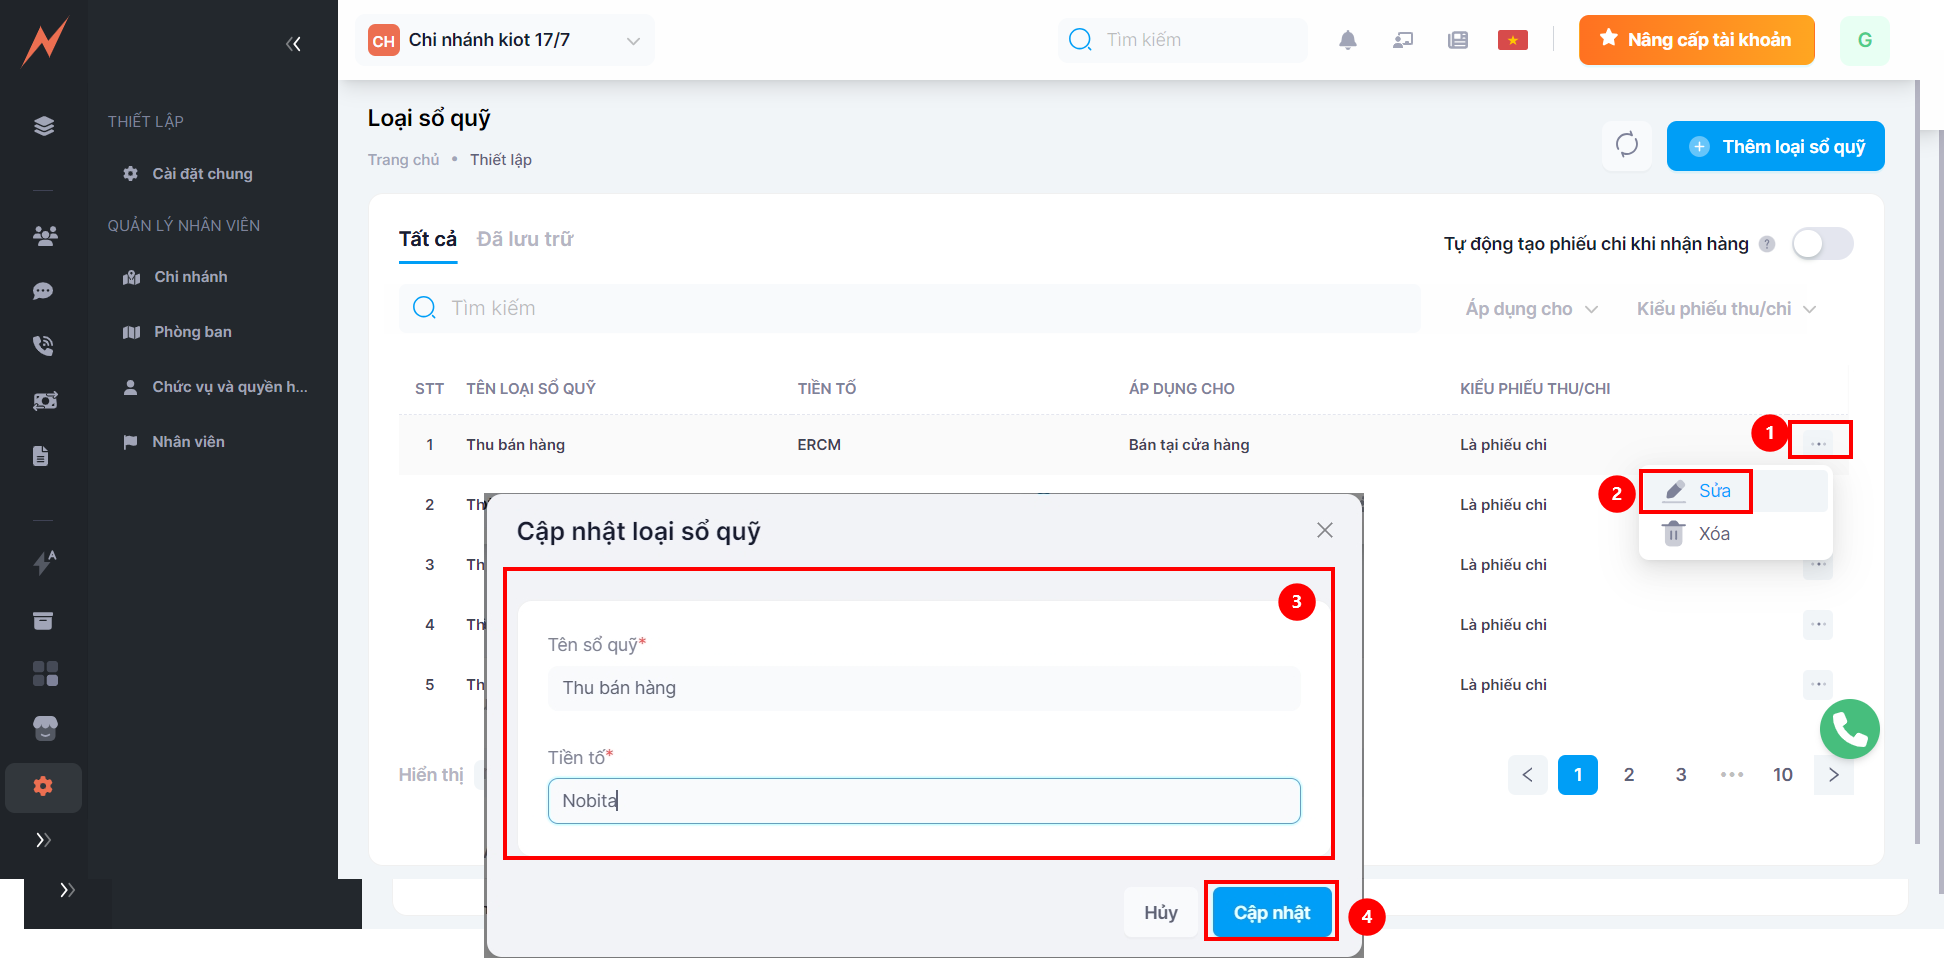
Step 1: Click the three dots on the right side of the cash book type
Step 2: Click "Edit" -> The cash book update form is displayed
Step 3: Enter the information that needs to be edited
Step 4: Click "Update"
3. Delete cash book type
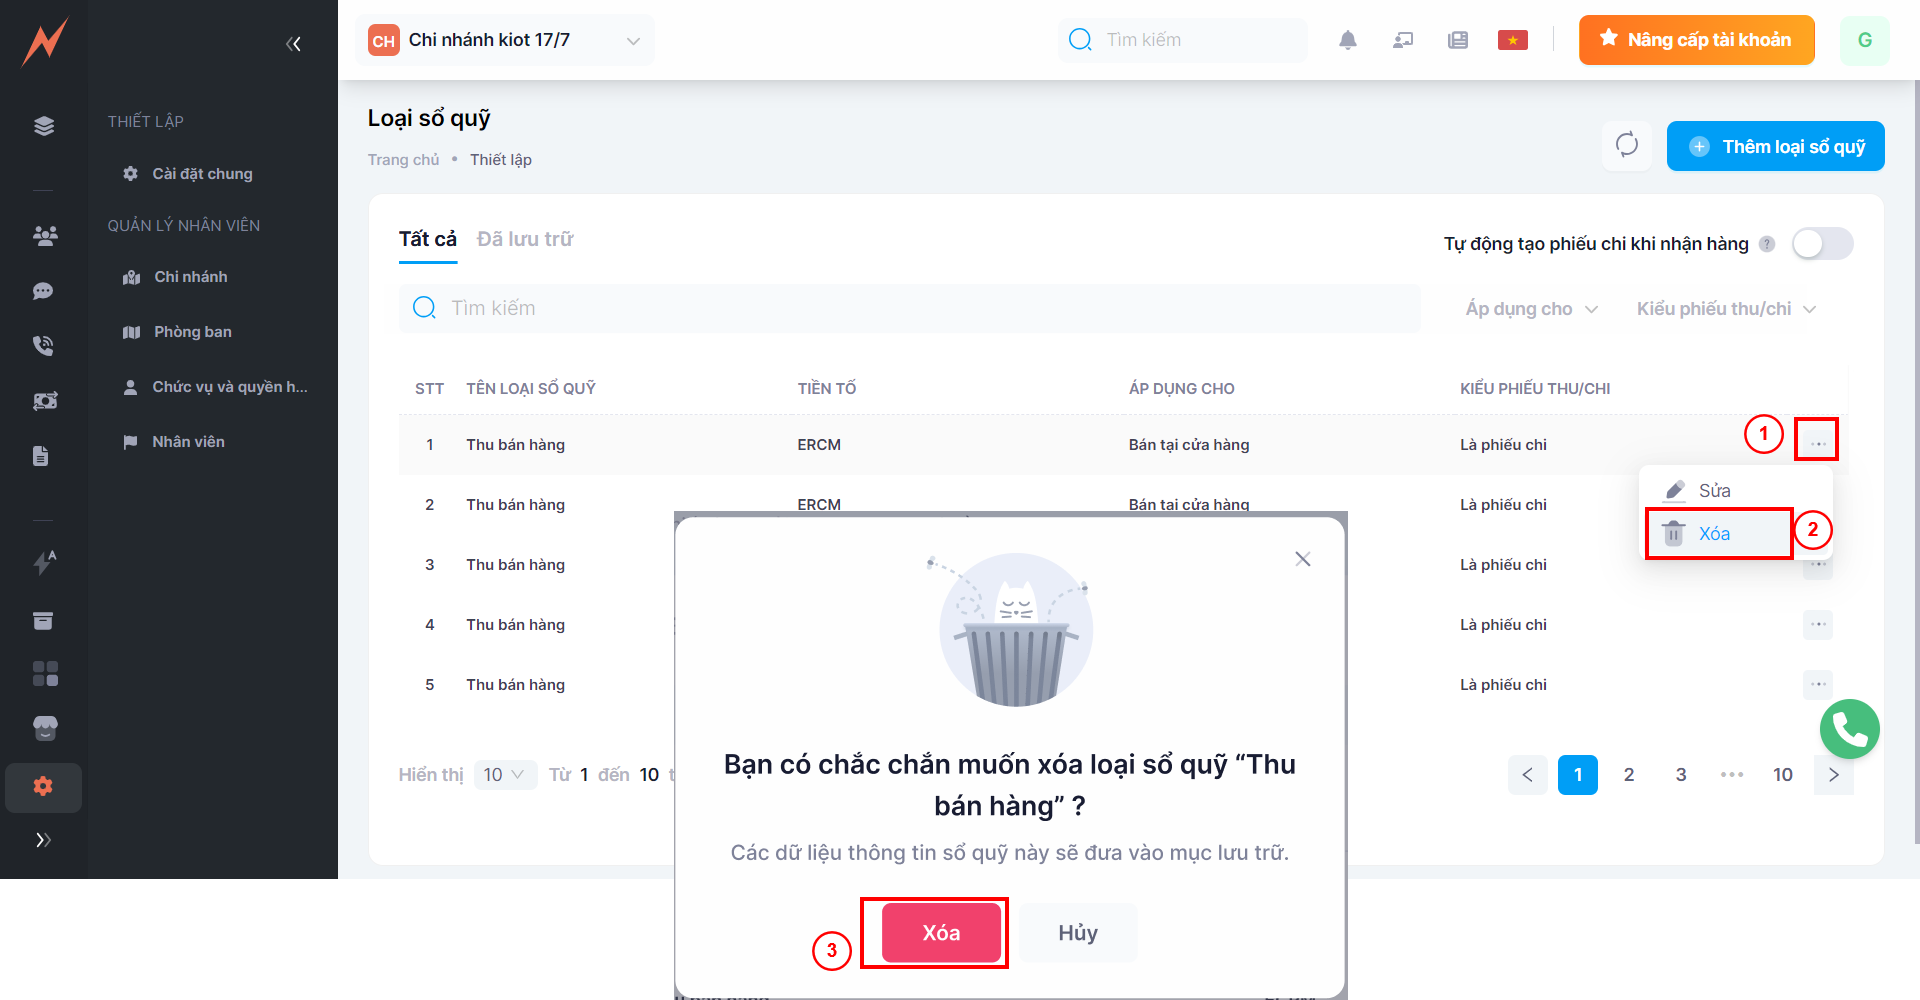
Step 1: Click the three dots on the right side of the cash book type
Step 2: Click "Delete"
Step 3: In the delete confirmation popup, click "Delete"
4. Archived
Once "Types of cashbooks" are deleted, they will be archived and managed in the Archived tab after successful deletion. Users can either Restore the type of cashbook or permanently delete it from the system.
4.1 Restore cash book type
To restore the type of cash book, please follow these steps:
Step 1: Click the three dots on the right side of the cash book type
Step 2: Click "Restore"
Step 3: In the delete confirmation popup, click "Restore"
4.2 Delete permanently
To permanently delete the cash book type, please follow these steps:
Step 1: Click the three dots on the right side of the cash book type
Step 2: Click "Delete"
Step 3: In the delete confirmation popup, click "Delete"
Last updated