
Nobi
Nobi will assist you in performing various operations.
Add New Order
Edit Order
Duplicate Order
Cancle Order
Delete Order
Xuất đơn hàng thành file excel
Send order to the carrier
Update carrier information
Hand over to the carrier
Print order
Change order status
Tag Order
Filter Order
Process Return
1. Add Order
Screen add order.
To add an order, users need to enter the required fields: Recipient's name, phone number
--In case of choosing the self-shipping option - users do not need to enter detailed address and select Province/City, District, Ward/Commune
-- In case of choosing the shipping unit - users are required to enter the detailed address field and select Province/City, District, Ward/Commune.

-- You must select a product.

Users can check the inventory of selected products.
Additional information such as quantity, unit price, and discount for each product can be entered.
-- Order Information
Selecting a warehouse is mandatory (when the option 'Allow selecting warehouses under branches in the sales settings' is enabled).
Notes can be entered, sellers can be selected, and the status of checking goods can be viewed.

-- Shipping information
Select a shipping carrier or choose the self-shipping option.

-- Payment
Calculate the total order value including tax, discount, wire transfer fee, deposit, shipping fee, and total product cost.

Finally, the user fills in all the required information and clicks on "CREATE ORDER" to add a new order.

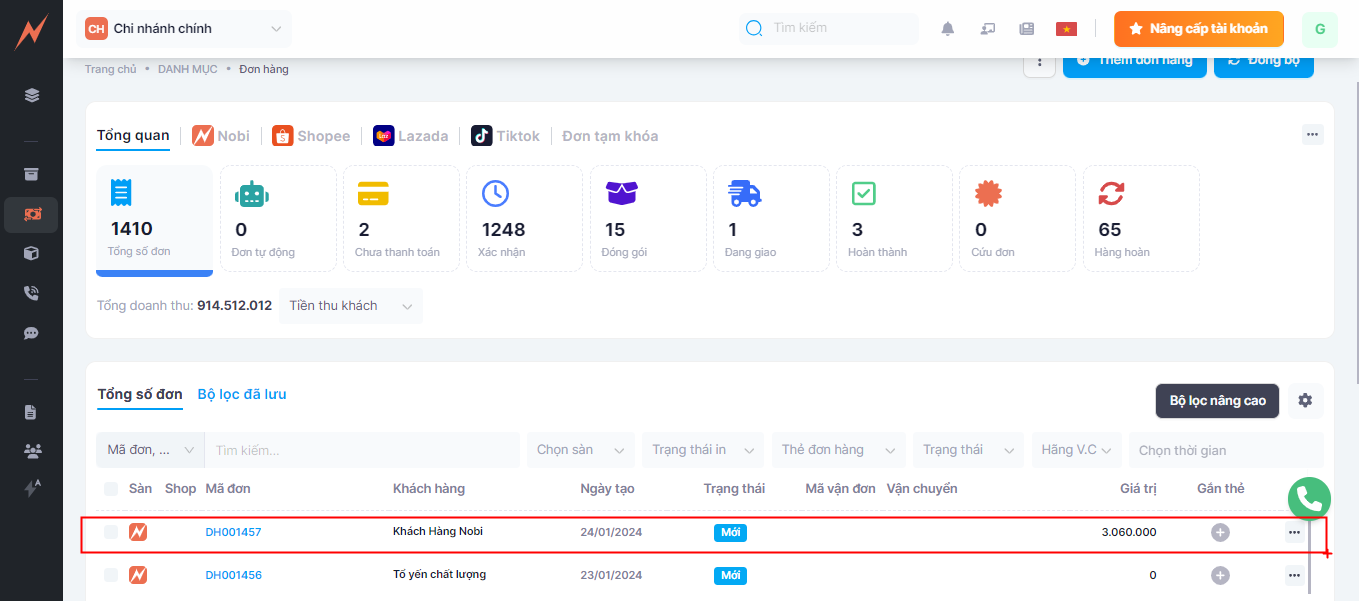
After successfully creating an order, the order will be displayed in the Overview tab or the Nobi tab.
2. Edit order

In this order editing section, there is an option that allows for the modification of orders placed by others (in the permissions settings). Please make sure to enable this option if you wish to edit orders submitted by someone else.
3. Clone order
Users can clone individual orders or perform batch order cloning..
4. Delete Order
Users can delete individual orders or batch delete orders.
In the delete order section, there is an option that allows the deletion of orders placed by others (in the permissions settings). Please be sure to configure this option if you want to delete orders made by others.
5. Tag the order
Users can tag individual orders or batch tag items.
6. Return merchandise
For self-shipping return orders, the order must be in the status of "returned in progress" or "returning". After the return process is completed, the order status will change to "Return Confirmed".
Partial Return
-- For self-shipping orders, users can process a partial return of the order.
-- For orders with a shipping carrier, the carrier will refund a partial amount that the customer paid, and the partial return tab will be provided to the Nobi party.
Full Return
-- For self-shipping orders, users can process a full return of the order.
-- For full returns processed by the shipping carrier, the information will be available in the full return tab.
7. Import the Excel file for the Nobi order.
Users can download a template file to fill in the information according to the template and import orders in bulk.

The file import already includes the product Nobi and will be displayed as shown in the image:
When importing the order file, there will be two scenarios:

File import without products in Nobi will display the product setup table.
Turn OFF the option: Auto-create product.
The product from the import file will be configured according to the existing products in Nobi. Here, you must select the product category and product to import the order file.

Turn ON the option: Auto-create product.
When this option is enabled, new products from the Excel file will be created. Here, you must select the product category and unit of measure to import the order file.

8. Export File Excel
Export all platforms to Excel: Nobi, Shopee, TikTok, Lazada.
Users can export an Excel file based on filters, export an Excel file with product details based on filters, export Excel for the current page, export selected orders to Excel, export selected orders with product details to Excel.

9. Print Order
Customers can print a single order or batch orders using a predefined template or a custom template.
10. Submit the order to the shipping carrier.
To send an order to the carrier, you need to perform the following steps.
Step 1: Click "Add Orders", enter the complete address, select the Carrier.

Step 2: Select one or more orders to upload to the Carrier.
Screen display after the order has been successfully submitted to the carrier.

11. Update Shipping Information
Users can update the shipping information for their orders
Select one or more orders you wish to update
Below is the display screen: "Set up to send orders to the courier service"

(1) Click on the "Edit" button
(2) Select the carrier you want to update
(3) Click "Update" to refresh the carrier information (4) If the user wants to update and send the information to the carrier immediately, select option (4)
The order screen after successfully updating the carrier information
12. Change the warehouse to export goods
The user changes the warehouse for order fulfillment if the product in that order is out of stock, switching to another warehouse where the product quantity is available to process the order.

(1) Select the user storage to transfer.
(2) Click " Transfer Warehouse "

13. Change order Status
Users can change the status of one or more orders:
Step 1: Select one or more orders you wish to change the status of.
Step 2 : Click " Change order status " .

Step 3: The state transition table will be displayed for the user to change the status as desired.

Step 4: Click "Save" -> The status of the selected orders will be successfully changed.
Last updated